2026 Eclipse
Aranda de Duero, Spain
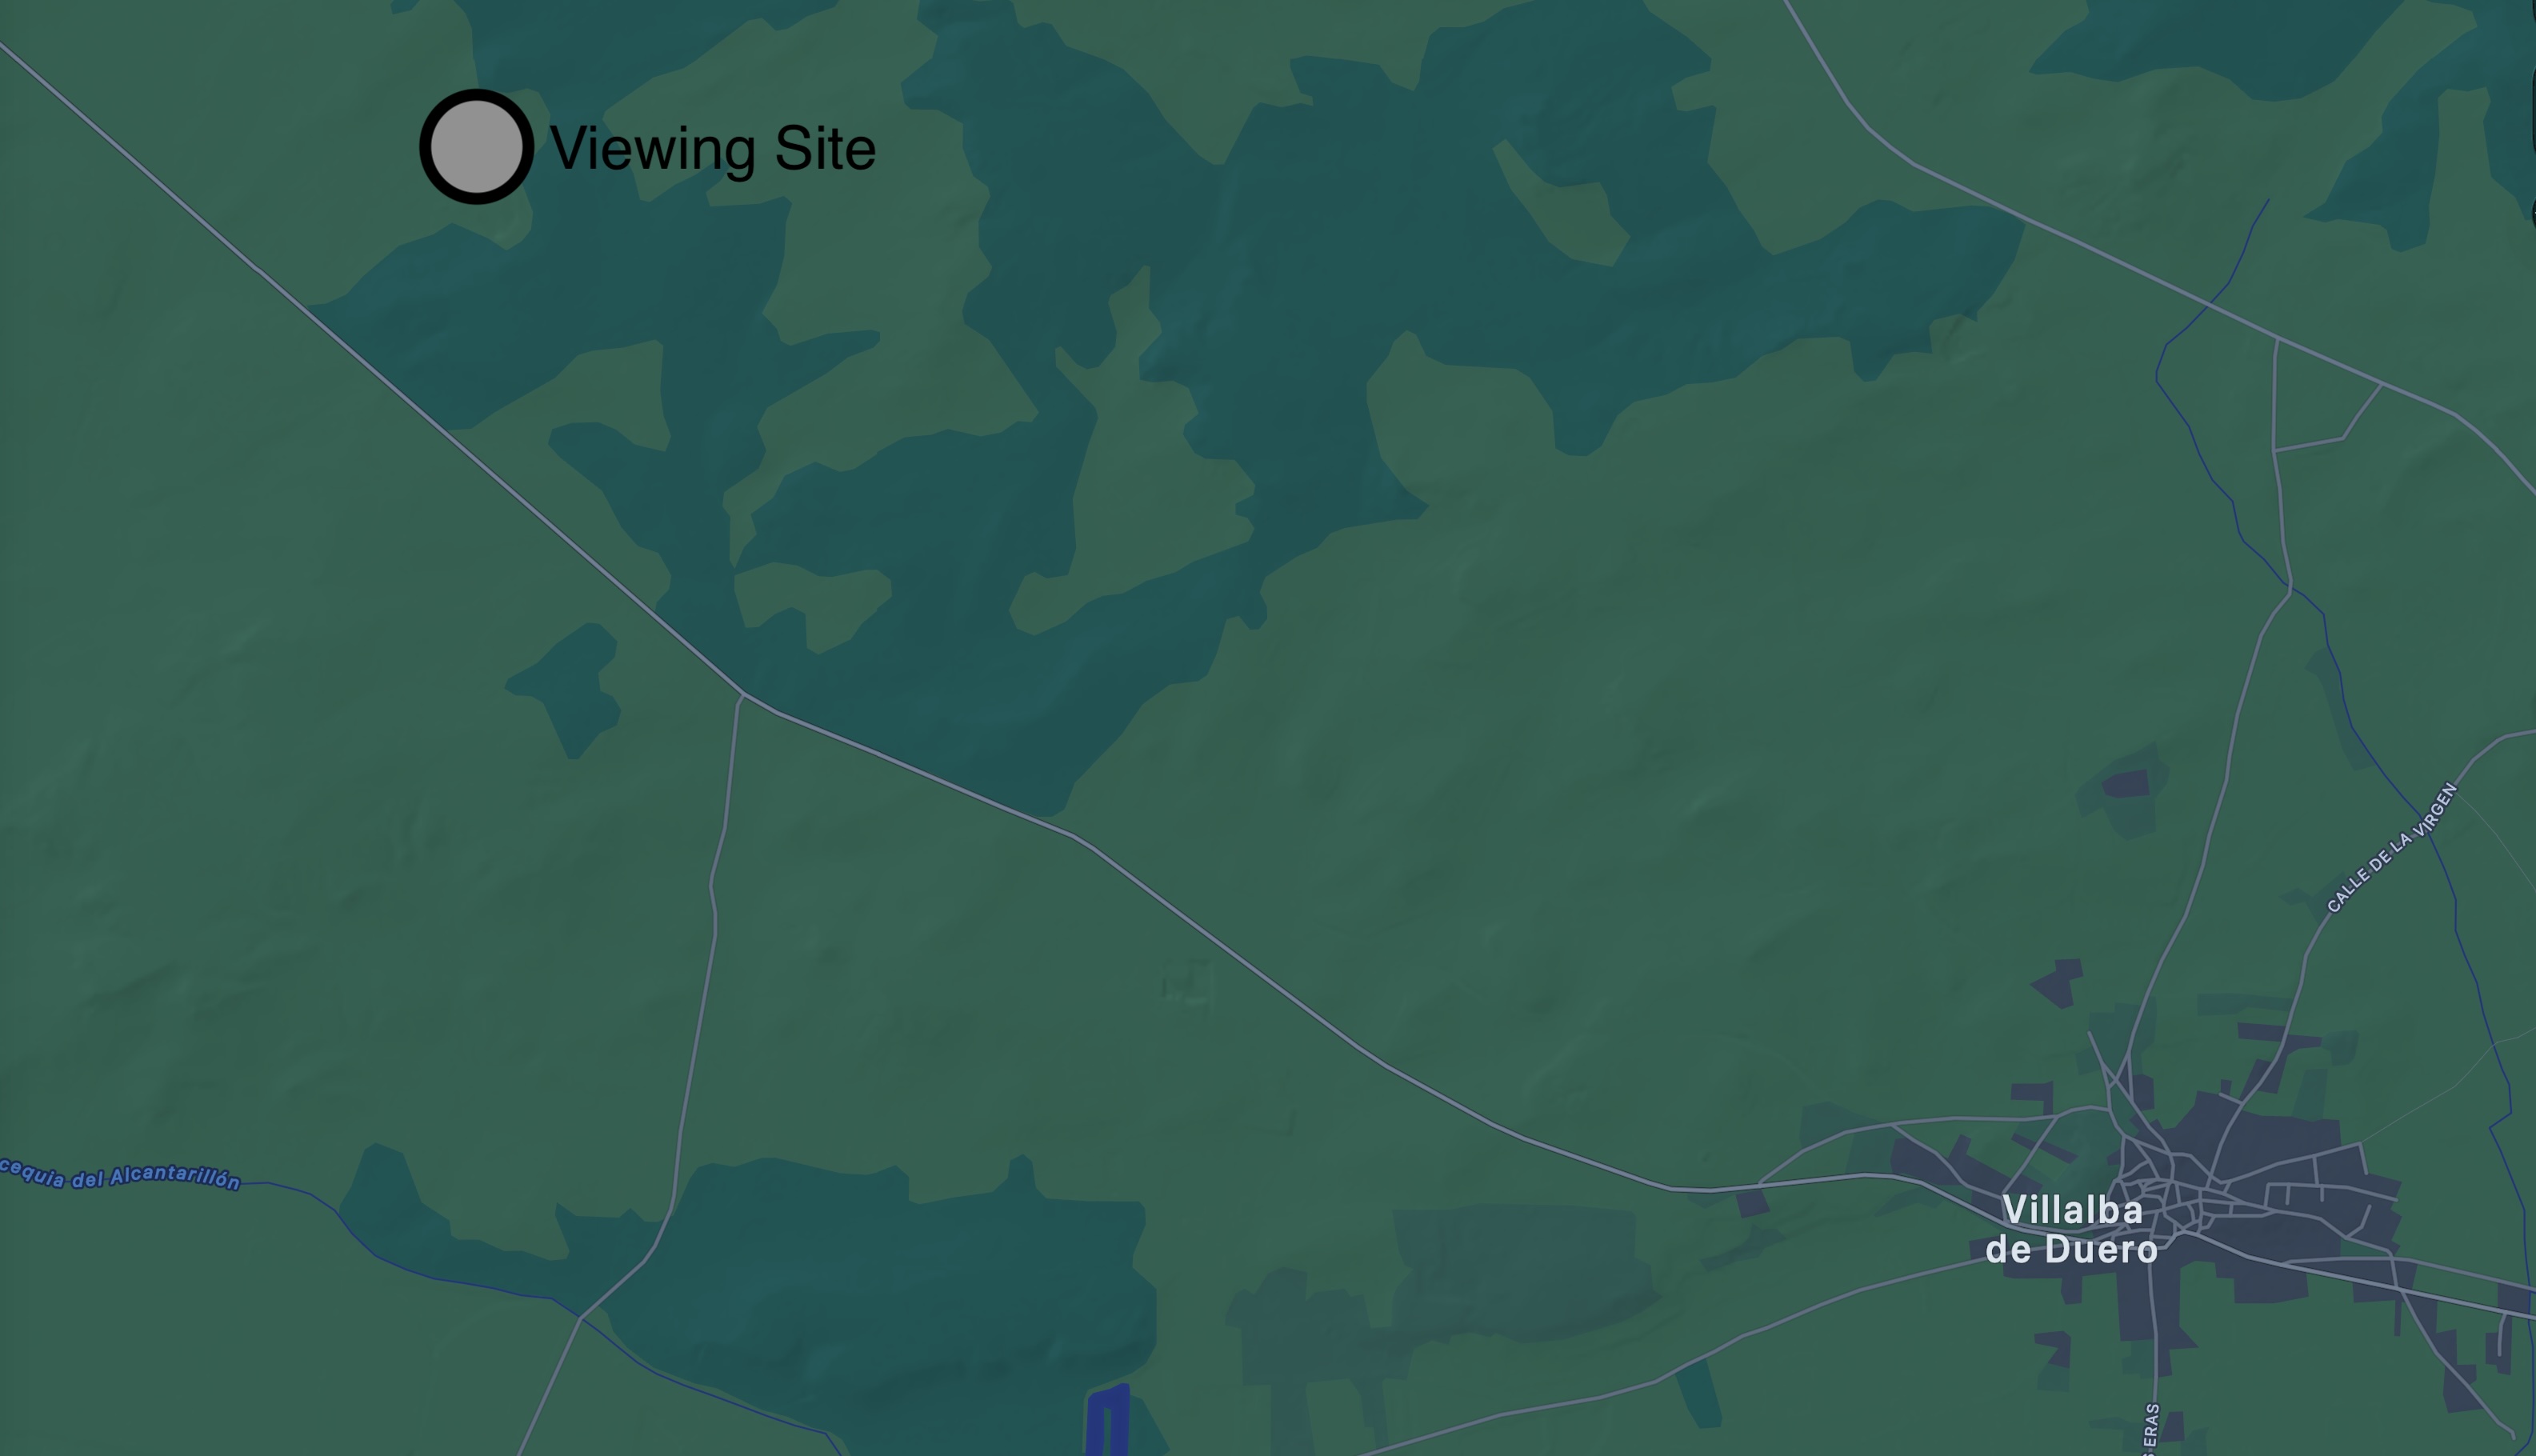
This page presents the story of our viewing at the Bodega y Viñedos Pradorey Winery near Villalba de Duero in Northern Spain.
After the disappointment of 2024 I was ready for a successful viewing. I especially wanted to put my program CaptureEclipse to the test. Its previous outing in Australia in 2023 was before I learned of the ΔT problem so I was eager to prove it really made accurate predictions (which it did).
The weeks before leaving were filled with stories of major fires filling the skies with smoke and temps in the low 40's. Fortunately Spain got their fires under control, but it was still toasty. The good news is that the heat kept the clouds from the Bay of Biscay in check. A high pressure system was over Spain the day of the eclipse, but it brought with it some Saharan dust. That combined with the low sun angle meant the corona was a tad red
This trip rekindled my over two-decade-long relationship with TravelQuest International. The trip was led by Gabrielle Kaprielian, the owner’s daughter.
For those not familiar with my website conventions, clicking on any image in a blue outline will bring up a more detailed image and also allow you to scroll through the entire set. Clicking the ⏫ will display a full resolution image
The Site
The site chosen by TravelQuest was a winery situated just outside the town of Villalba de Duero. We had our base in Burgos, which was approximately an hour’s drive north. Since the eclipse occurred near sunset, we planned to have dinner after the eclipse at the winery, which meant we were looking at a long day ahead.
The site was ideal in many ways. First it had a large lawn area west of the main building. This would allow our group of about 100 people to spread out with a clear view. However, with temps in the high 30's most of the guests crowded under some trees on the south side to wait out the approaching eclipse
This shows the view west towards the setting sun. Note the sun is definitely getting some Rayleigh Scattering which is turning it reddish. The main viewing area is on the left side of this picture
Upon my arrival, I took a moment to assess the available sites. The winery had designated an "expert" location in the vineyards, west of the property, on a small hill. However, this location was fully exposed to the sun and required carrying the equipment via a dirt farm road.
My attention was immediately drawn to a carport on the north side of the property. It was elevated about 5 meters above the land to the west. I could conveniently set up my equipment on the west side, ensuring an unobstructed view, while seeking shelter under the carport to avoid direct sunlight. Additionally, it was a short walk on pavement from the food and drinks setup on the lawn.
My exact location was 41.7038830° N, 3.790458° W. I used my GPS Dongle to make sure I had accurate location and time.
Movie
Perhaps the best way to experience an eclipse without being present is to watch a movie about it. This movie shows the deep umbra shadow approaching the sun from the northwest (right of this image). When the shadow reaches the sun, the totality begins. As the eclipse progresses and the shadow moves southeast (toward the upper left corner), areas that are not fully eclipsed start appearing. Finally, when the umbra no longer covers the sun, totality ends. The shadow then continues to move southeast.
The sound track records CaptureEclipse's warning and information prompts. It also captures my voice notes of what I saw as well as the crowd in the distance reacting.
Apparently at totality the lights came on in the carport casting shadows of my equipment until someone turned them off.
Images of Totality
This is the section, after all, that viewers are interested in. Namely what I captured during totality. All of the images were captured by CaptureEclipse.

I used a variety of tools to process these images. All but two of the single shots were processed using Pixinsight. The processing for the HDR image is described in that section.
This image captures the last continuous edge of the sun was before it was obscured by the mountains of the moon.
This was an image taken at 2026-08-12T18_29_25.19 UTC
The exposure was 1/160, F 6.3, ISO 100
Processed by Pixinsight
This image is a Beads exposure, but I processed it to also show the large C2 Prominence
This was an image taken at 2026-08-12T18_29_29.36 UTC
The exposure was 1/5000, F 6.3, ISO 100
Processed by Pixinsight
One of the notable features of this eclipse was the huge prominence visible at C2.
This slower and later exposure captures it well. I was able to bring out some of the structure that I observed
It should be noted that my Prom/Chromo set executed later than it could have. The last C2 beads exposure should have ended at 29_30.27 which indicates the eclipse occurred at a high point on the surface shifting the nominal "ideal moon" earlier. I decided to use 5039 (shot at 18:29:29.36) as my chromo exposure
This was an image taken at 2026-08-12T18_29_34.48 UTC
The exposure was 1/2500, F 6.3, ISO 100
Processed by Pixinsight
This shows the Chromosphere and some small prominences as C3 approached
This shot also validates the correctness of my model. This is the first of the Chromo/prom set.
During the eclipse, I noticed prominences as C3 approached, but I don’t see them in this image. My “chromo-chromo” alert should have sounded by this point, indicating that I had stopped using binoculars. Therefore, they should be visible. However, it’s possible that they’ve been obscured by the emerging chromosphere.
This was an image taken at 2026-08-12T18_31_03.49 UTC
The exposure was 1/2500, F 6.3, ISO 100
Processed by Pixelmator
This is a great shot of beads at C3.
This shot again validates the correctness of my model. The exposure is precisely centered in the C3 sequence. Furthermore, examining the C3 prominence and chromosphere sequences, the transition to beads occurred at the appropriate time.
This was an image taken at 2026-08-12T18_31_12.5 UTC
The exposure was 1/5000, F 6.3, ISO 100
Processed by Pixinsight
One final single shot. This is the diamond ring at C3 processed by Pixelmator Pro instead of Pixinsight
This image depicts the Diamond Ring at C3 using a different tool. It might provide a more accurate color rendition because there was significant Rayleigh scattering. I recall a reddish tint to the corona, which is also visible in the iPhone movie.
This was an image taken at 2026-08-12T18_31_16.68 UTC
The exposure was 1/160, F 6.3, ISO 100
Processed by Apple Pixelmator Pro
Lastly here is the most important image - that of the Corona
All the prominence and chromosphere images can be viewed with a good H-alpha scope from your front yard. However, what I’ve traveled the world to witness is the corona. Even the Soho Sun satellite can only glimpse the outer parts of this structure. To see the entire corona, a total solar eclipse is required.
A word on processing. Due to its considerable variations in brightness, capturing the corona in a single shot is impossible. The image created as a combination of exposures ranging from 1/1250 to 1/6 seconds. This results in an image that captures 65,000 levels of brightness for each color. However, since consumer displays can only display 256 levels of each color, the trick is to select the "right" 256 levels and to use subtle differences in brightness to bring out details that would otherwise be lost.
My objective in processing is to recreate what I observed, without adding any structures I did not see. I have the discretion to combine other images processed differently into the raw HDR file to compensate for the HDR processing, which may not preserve details such as prominences. Since these details are easily discernible through binoculars, restoring them is entirely within my guidelines. Therefore, I do not consider this process to be “photoshopping” the final result.
Some general observations about the August 26 corona. If you revisit my 2017 images from Oregon , you can see very intricate structures within the corona. You can also observe distinct solar brushes following the lines of the magnetic fields emanating from the poles. None of these structures were visible in 2026. As you listen to me describe the corona in the iPhone video, you can hear me mention the absence of such structures, except for a faint wave as part of the prominence at 7 o’clock.
Processing
Now for the nerd stuff to capture how I built this image for the benefit of others (and my future self).
Initially, I processed my images in Spain using Apple’s Pixelmator Pro. Out of the images I processed in Spain, only one made it to the final selection for publication. However, I added a second image since Pixelmator produced a better result for the C3 Chromosphere compared to Pixinsight. For HDR processing, I needed a more powerful tool. Initially, I intended to rely solely on Pixinsight. While Pixi offers tools for creating HDR images, it disregards the information provided by the camera. After several attempts and a brief evaluation of the Siril tool, I decided to abandon Pixi for HDR stacking. Reflecting on past eclipses (and the reason behind this detailed writeup), I recalled that I had previously used Photomatix for HDR creation. Consequently, I renewed my license for Photomatix.
Photomatix is a specialized tool designed for creating HDR images. It can directly read the raw CR3 files, debayer them (i.e correct for the pixelated way images are formed within the camera), align them, and stack them with the appropriate weighting. Subsequently, it “stretches” the images to fit the limited display range of a computer screen while preserving the subtle differences in brightness within the data. This allows users to delve into the image and refine its quality by carefully adjusting the brightness levels and sharpening the details.
For this processing, I selected a series of 10 images whose exposures were intended to capture the prominences extending up to the corona at a distance of 4 solar radii. Since the sun was low in the sky, I was underexposed by one or two f-stops. However, by at least not overexposing all the images, I managed to retain usable data, albeit with lower values compared to when the eclipse occurs at a higher angle.
Photomatix offers several stretching algorithms. Initially, I opted for the first suggested named “Enhancer.” However, when I processed the image using Pixinsight, I noticed that while this mode preserved the prominences, the inner corona was blown out. Thus I decided to try again.
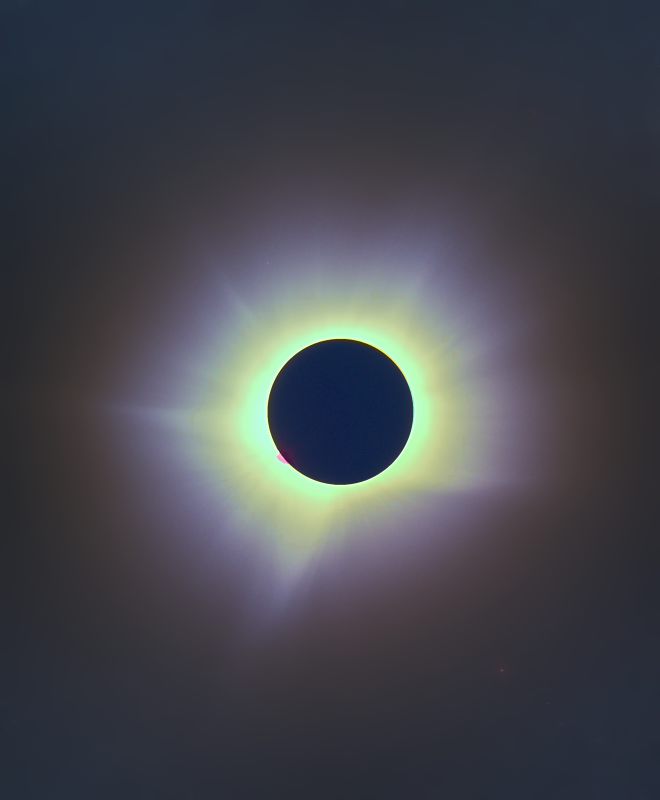
The second attempt used a different mode "Compressor". This preserved the inner corona, but the prominence was lost. No problem as that was fixable. The image also had noise that was harder to remove, but I decided to accept that. I imported the stretched image into Pixinsight for final processing
I created masks by extracting the L channel from the image and importing them into Pixelmator. Since the moon moved during the exposures, it left a noticeable artifact in the stacked image. Therefore, the moon’s mask needs to be oval instead of round. Additionally, I create a mask for the prominence, but that was not used in Pixinsight. I had to create a different mask in the final Pixelmator step.
Finally it was time to find the data. Being underexposed meant the background was closer to the signal so it required some careful masking and application of various sharpening and noise reduction routines. Fortunately that is what Pixinsight is good at. Gemini provided invaluable help in selecting the most appropriate settings
- Use Moon mask to grey the area occupied by the moon
- Using a mask on the corona use TGVDenoise to knock down the background noise
- Now bring out the detail in the Corona using LocalHistogramEqualization. First at 64, 1.5,0.25; then at 128,2.0,0.15
- Now sharpen the corona some more with MLT
- Attack the background noise again with GreyCsoration
- reduce the redness of the corona with curves. This may have violated by rules since my iPhone says the corona was indeed reddish, but I did not like what I saw
- the last step was to use GreyCsoration reduce some of the noise in the area where the outer corona overlaps the background. I created a mask that only included the outer parts of the corona. This needed to be applied carefully or I would lose some of the detail that MLT found. In the end I decided to accept some noise as the price of underexposed images
- Finally I imported the Pixinsight produced image into Pixelmator Pro. Since the prominence was lost in this version of the stretch but was easily visible in binoculars it was fair game to add it back. I used the C2 prominence image from above to supply a sharp image and then used Pixelmator to add it back into the final HDR image
Equipment
Finally here I am waiting for totality. The shot did not capture my equipment. Since I used basically the same equipment as in 2023 in Australia here is a the list and a picture from then. The one difference is replacing my good old 60D with an R8. The R8 was lighter and was supposed to take a more accurate image of the corona (I forgot about the sun angle)
And no I did not just have eye surgery. Since 2010 I have always masked one eye both to protect it if I looked at totality before C2 was complete and to dark adapt the eye so I can see finer details in the corona