Rob Hawley's Pages Almaden Observatory Main Page

M16 - M17 in Narrowband Reprocessed

May 2014 - July 2014
Reprocessed Nov 2014

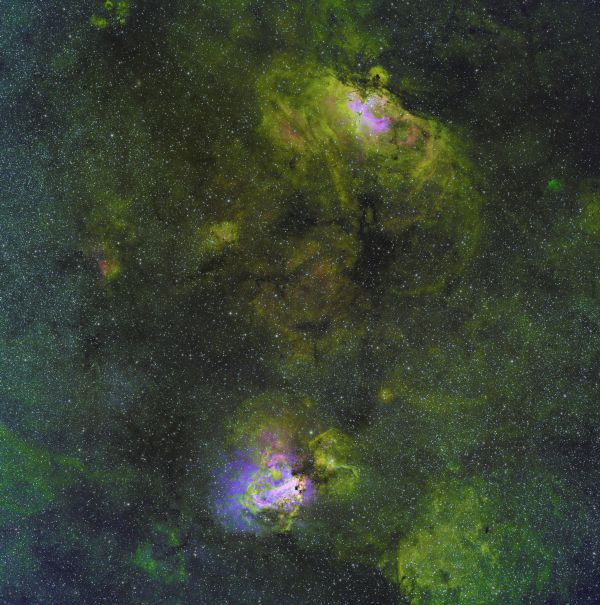
Messier 16 and Messier 17 are two close Messier objects located on the border of Serpens, Scutum, and Sagittarius.  M16 is technically an open cluster, but it is closely associated with a nebula that early observers likely did not see. Even today the nebula is tough requiring dark skies, a large aperture, and O III filter to detect visually.  Photographically the cluster is lost in the nebulosity.

Messier 17 is known locally as the Swan Nebula.  It is a typical summer star party object.  Visually it looks like a swan.  I will leave it to the reader whether it looks like a swan photographically.

Area map of M16
        M17


Katonah Workshop


I did the first processing on this set in July and published the Nitrogen data at that time.  I was already collecting Hydrogen data. After I signed up for the PixInsight class held at Katonah in September I decided to wait until after the class to finish the work.  Well it took a couple of months to get back to it, but now it done.  Looking back at the original images I can see how much I learned from the class.  The images are better for 3 principle reasons.


I describe how I did all of these in the processing section below.

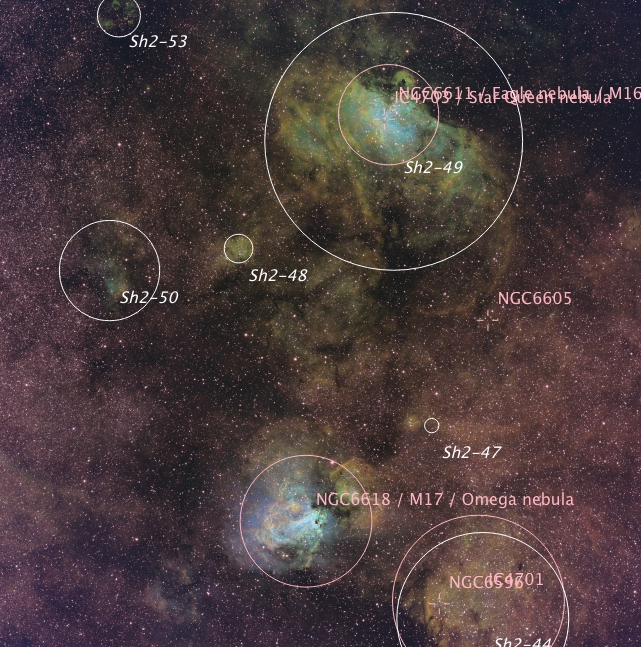
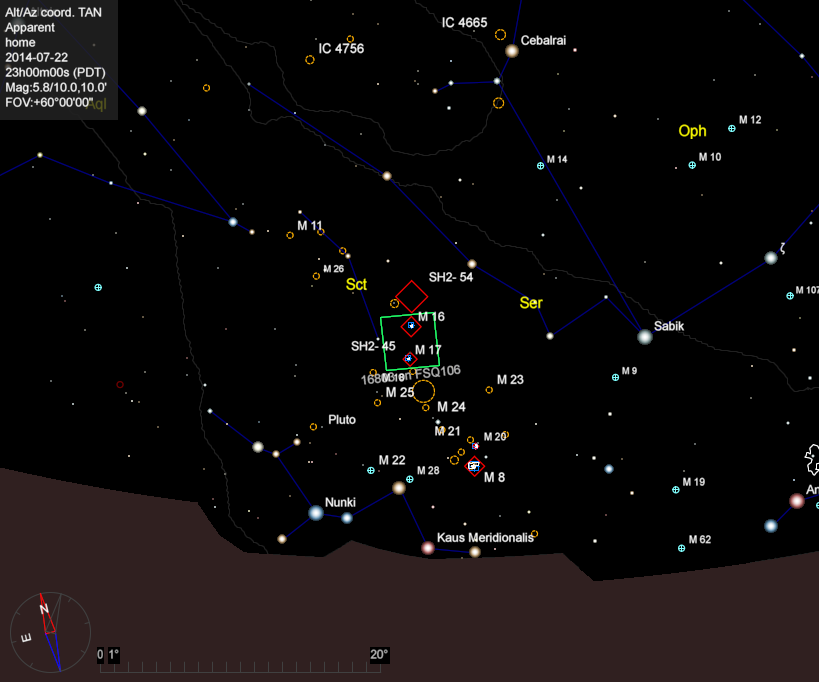
Annotated Image Both objects are located within the band of Milky Way above the Sagitarius teapot.  In this vicinity are also several Sharpless Objects (H areas).  The image below shows the major objects in the vicinity of M16 and M17.  The image is about 4 degrees square. Annotated Image of M16-M17

Choice of Palettes

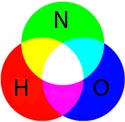
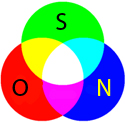
Normally narrowband images map a particular element filter to a color channel (R, G, or B).  In this case I used 4 filters so the direct mapping will not work.  I tried various alternative mappings (say Hydrogen to Orange (R + G), but none of the things I tried produced images I was happy with.  Thus I am presenting the data in four ways


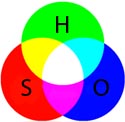
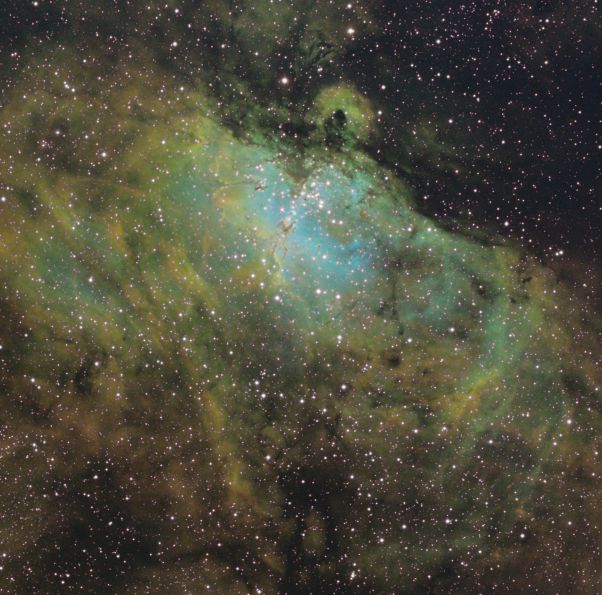
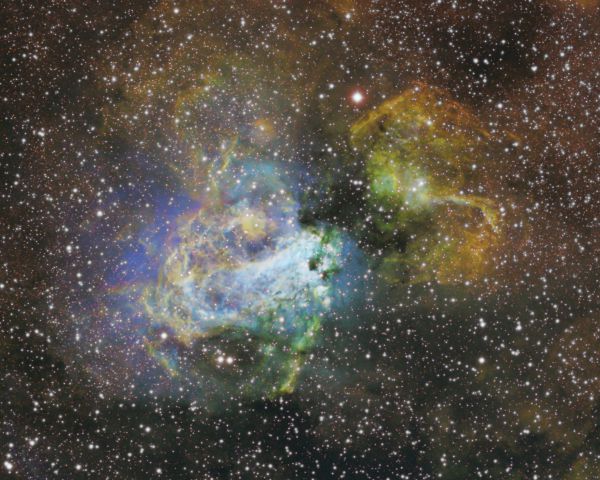
SHO
The Hubble Palette used on the telescope
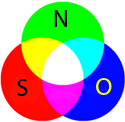
NSO
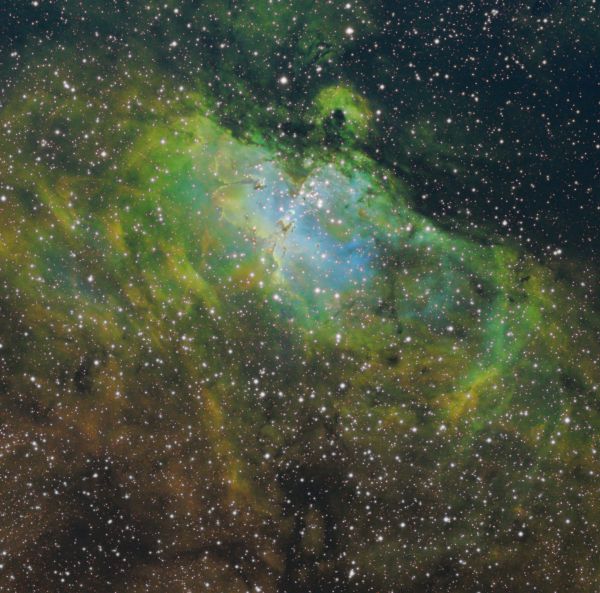
Both combinations of the same three filters.  My eyes are more sensitive to changes from Red to Green than Green to Blue so (for me) the two sets show subtile differences better. For example I see more detail in the center of M16 with NSO, but more detail in the surrounding area with SNO
SNO
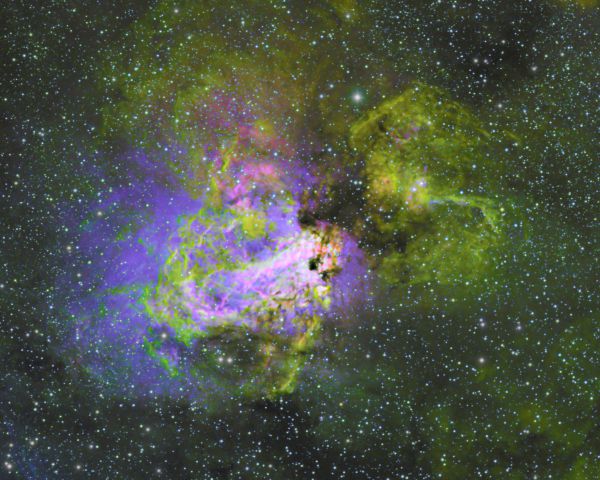
HNO
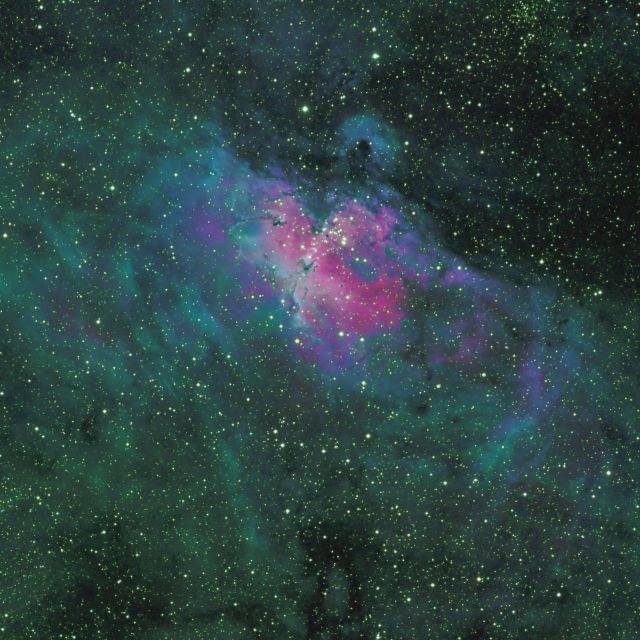
This combination combines the 3 brightest returns.  The result is surprising interesting.


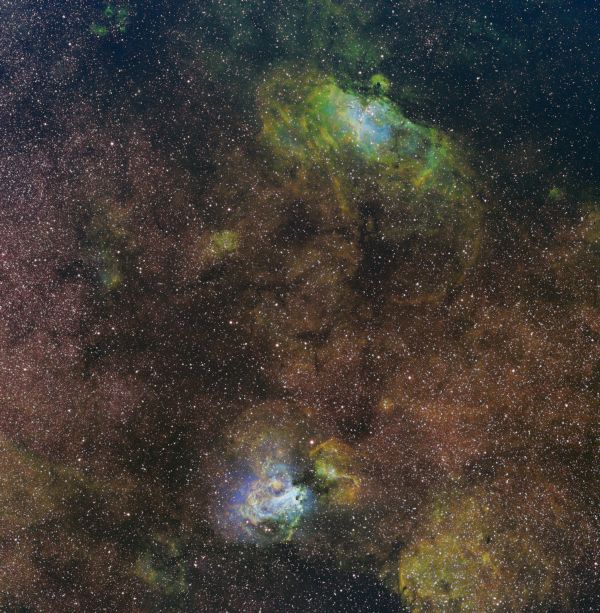
Zoomable Image in SHO

The full size image is just under 4096x4096 and is thus quite large.  The following will allow the reader to zoom into the image to explore it more closely.@#@

R=S G=H B=O

Alternate Color Assignment

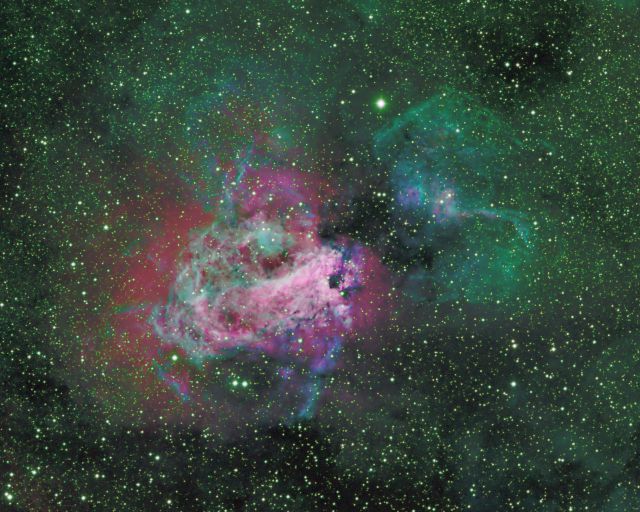
The NSO palette is very good as showing the structure of the clouds surrounding the two Messiers.  With my color vision the details of the clouds themselves are not as apparent as if I shift the palette to OSN. This is presented below.  Follow the link for a Zoomable image.

R=O G=S B=N
M16 M17 in OSN thumb
SNO
M16 M17 area in SNO
HNO Palette
M16 M17 area in NHO
click to zoom into a full size image


M16

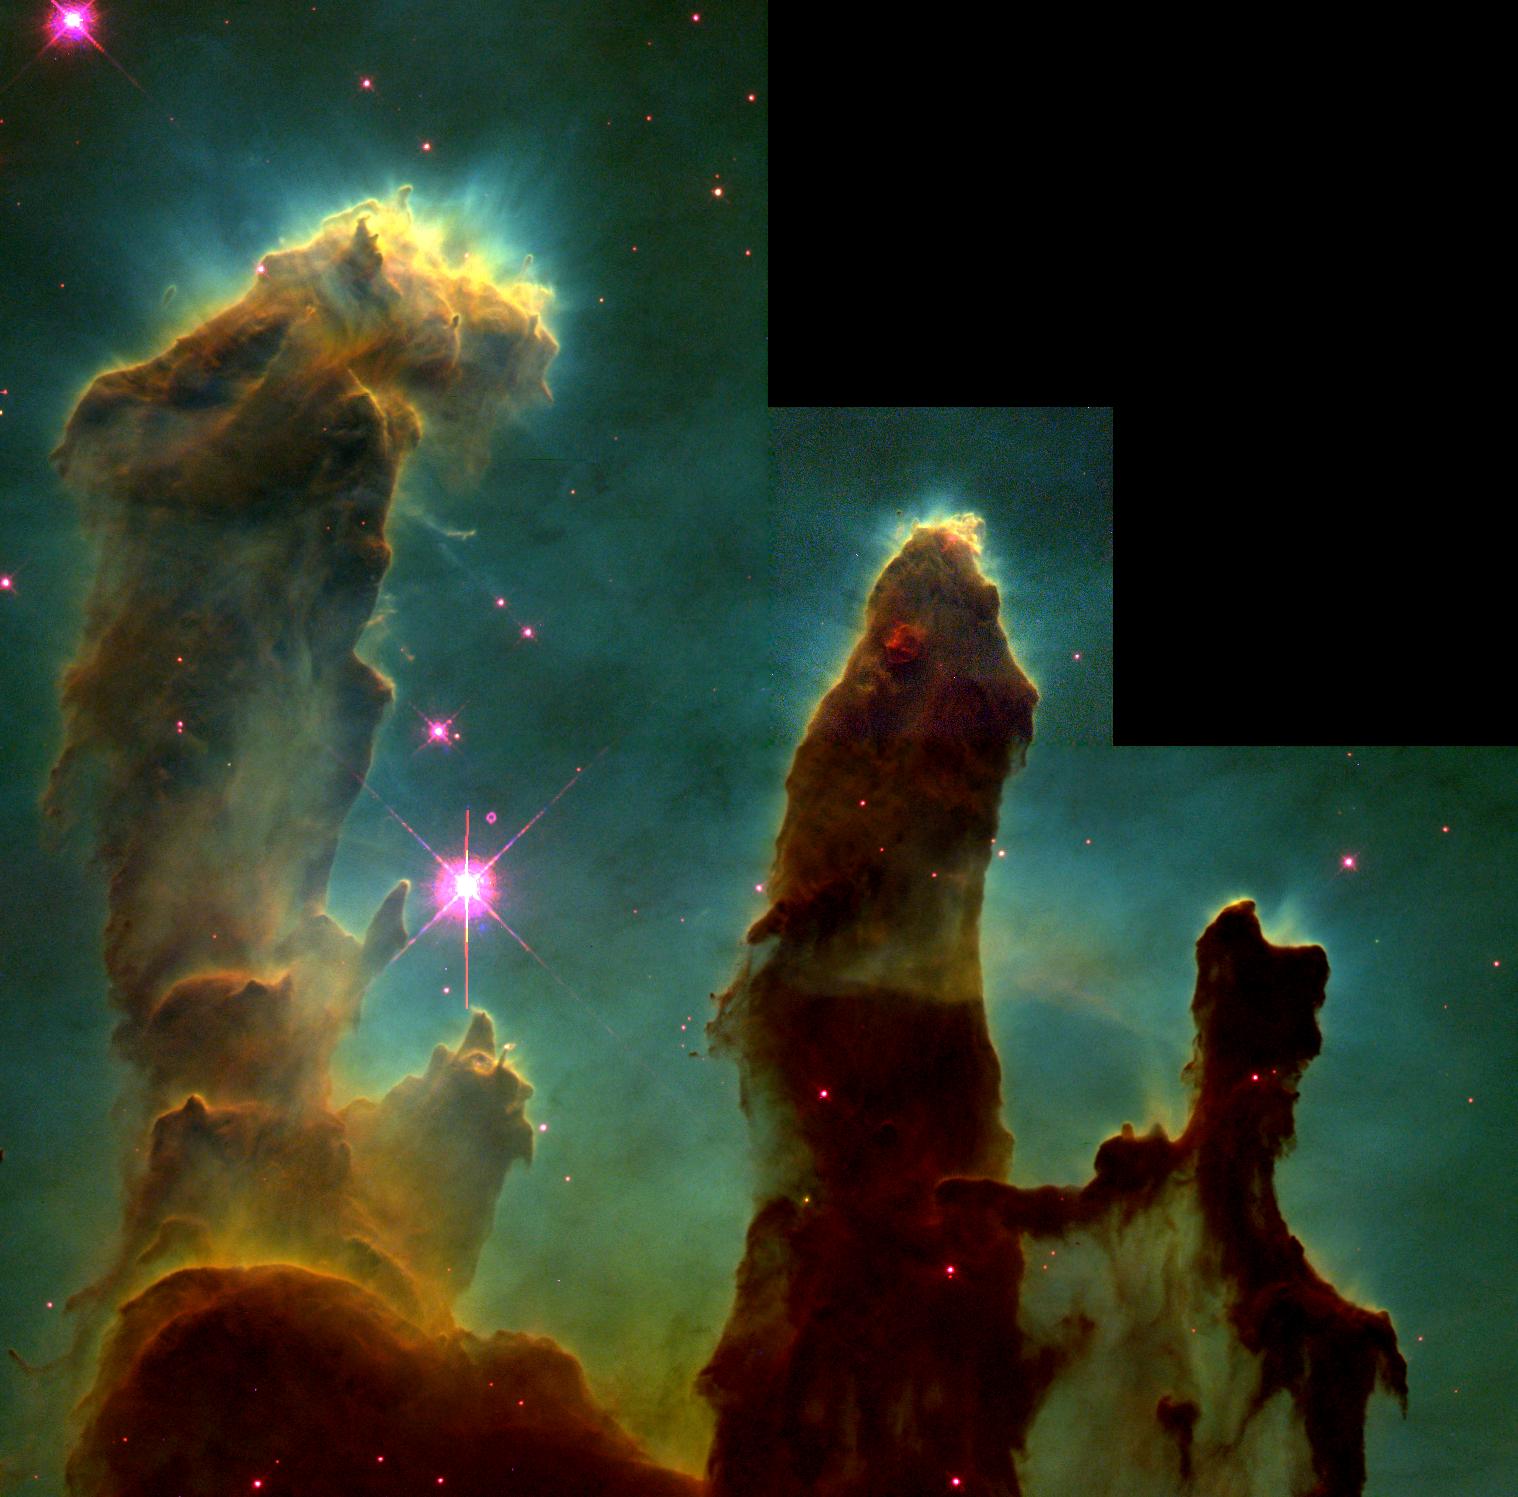
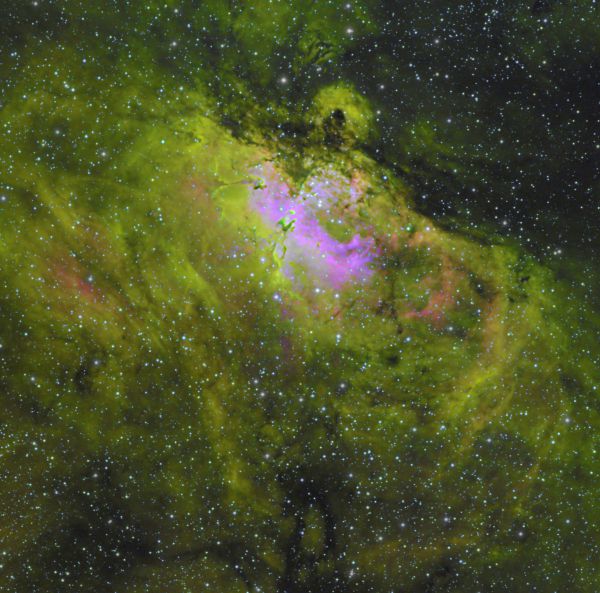
Messier 16 is the source of the most iconic picture of the Hubble Space Telescope - "The Pillars of Creation".

APOD Pillars of creationHubble ESO MPG
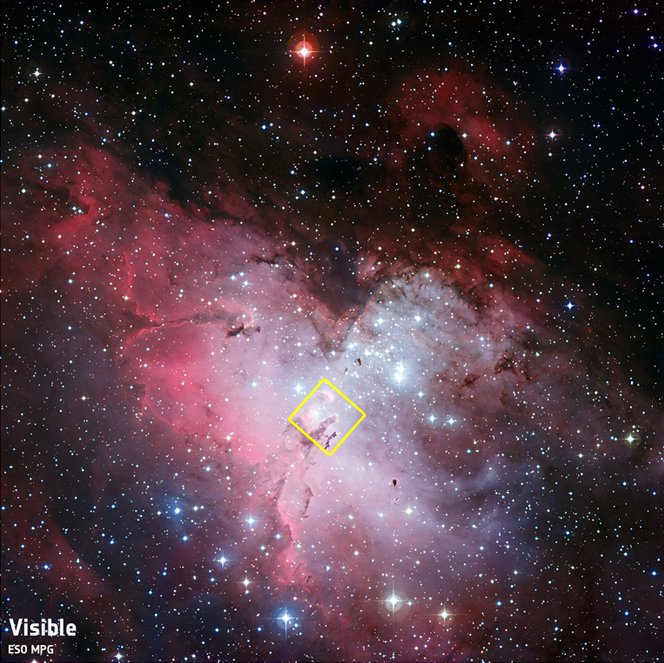
                Visible Image of M16
ESO MSG LRGB Image
Pillars of Creation extract
This work (OSN)


As I mentioned above these are challenging to see visually, but can be seen in the OSN image below.  This is a full scale excerpt of area image above.

R=S G=H B=O
M16 in Hubble
                Palette

R=O G=S B=N
M16 in OSN
SNO
M16 in SNO
HNO Palette
M16 in HNO

M17

To my eyes M17 looks dramatically different in a photo as opposed to what you see visually. I suspect this is mostly due to using narrowband filters.  Processing with Pixinsight is also part of the reason since one of the major goals is to compress the dynamic range to see dimmer details.  If I use a simple log on the image I get something that is much closer to what I visually observe in the 30" Challenger .
R=S G=H B=O
<M17 in HubblePalette

R=O G=S B=N" title="R=O G=S B=N
<M17 in OSN
SNO
M17 in SNO

HNO Palette
M17 in HNO

Processing Details


Data was collected between May and July 2014 at -30C and -25C.  Unfortunately due to tracking problem many of the images were rejected from the final mix. The ones that were left are good.


Filter
Exposure
Nitrogen 26x900
Oxygen 17x900
Sulfur 12x900
Hydrogen
 12x900


Color Calibration


Instead of trying to preserve the relative levels of the filters we used color calibration on the strong nebula as a "white" reference.  That adjusted the levels of the channels to give a more balanced image.  Otherwise Hydrogen would be the only thing displayed.

Managing star shapes and size

One of the most important things we learned at Katonah was how to build good star masks. PixInsight provides a tool for doing this directly, but it is difficult to fine tune the results of the tool.  At the workshop we learned to use MLT to perform an initial extract.  We then used Curves, MT, and convolution in whatever combination gave us a satisfactory mask.
Once I had the mask I protected the stars particularly from the sharpening operations.

Many of these techniques are also covered in IP4P section 3 PI-11 and PI-12.

Managing star colors

One of the other uses for the mask was to correct the horrid star colors that result from using the narrowband filters.  With a suitable mask from above one can then apply corrections.  We were taught to do this either by removing saturation or by overwriting with a luminance.  I found the latter worked better.

In addition I am following the IP4P set of tutorials. Section 3 PI-12 contains a number of suggestions on using the Color Saturation tool to correct the star halos.  This allows the precise color of the halo to be mitigated. In addition this tutorial and the previous also cover some of the same mask techniques covered at Katonah.
MidLevel Details< Using curves on a Luminance extract it is possible to isolate the mid level intensities (25-60%) and then apply color saturation or boost the luminance. Either or both bring out details in the more subtle portions of the nebula.

Drizzle


In my first round of processing I used Drizzle.  This technique allows the image to be magnified by reaching into the dithered image to recover more information.  

Because my tracking is not good enough for 1.5"/pixel resolution the image required deconvolution.  In this round of processing I chose to not attempt drizzle.  The original drizzled images are available on the old processing page

Copyrights For Photos

Creative Commons License
Except as noted,all work on this site by Robert J. Hawley is licensed under a Creative Commons Attribution-Noncommercial-Share Alike 3.0 United States License. This permits the non commercial use of the material on this site, either in whole or in part, in other works provided that I am credited for the work.